4. Active Marker
Active Marker connection
1. Complete the antenna installation and connection for the base station equipment
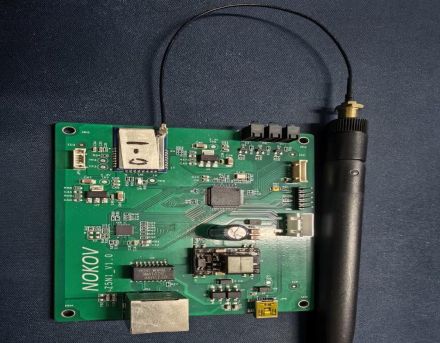
2. Establish a physical connection between the base station and the camera switch via a network cable
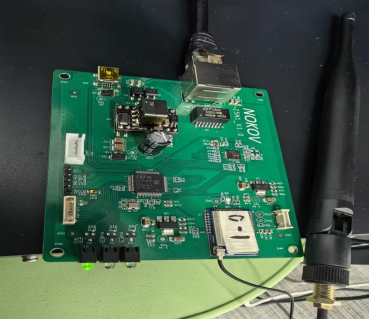
3. After confirming that the base station is powered on successfully, press and hold the power button of the active Marker to turn on the active Marker.
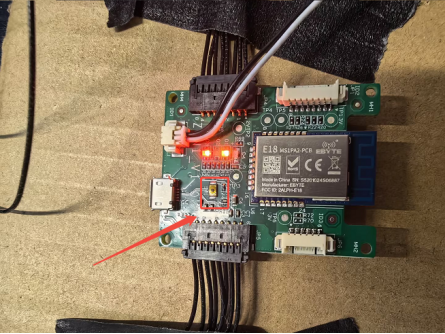
4. Deploy the active Marker to the designated work site
Software usage
1 Launch the host computer software and complete the communication connection with the camera
2 Click "View" on the software interface, select "Active Marker", click "Play", and the system can be used normally after loading is
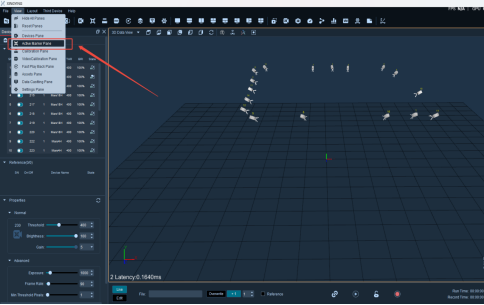
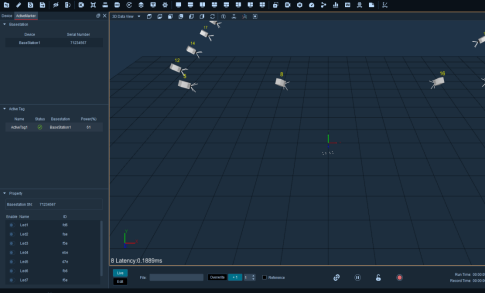
Introduction to the Active Marker Panel:
Base Station: The base station displays the device name and serial number. After selecting it, you can right-click the mouse to restart the base station;
Active Tag: Displays the name, status, connected base station name, and current battery level of the active Marker;
Properties: The serial number of the base station connected to the Marker, enabling or disabling the current Marker, and the current Marker ID.
Precautions
- Adding a Marker midway requires restarting the base station.
- If no base station equipment is displayed after enabling the active Marker panel, reconnect the camera.
- The active Marker IP is 10.1.1.180. Please ensure it does not conflict with the camera IP.
- For an active Marker, the distance between the two lamp beads must be less than the point tracking radius.