Ensure the software is in playback mode, with the model standing in T-Pose, the coordinate system having the Y-axis pointing up, the model facing the positive Z-axis, and the arms parallel to the X-axis. Click Freeze, hold the Shift key, and drag the left mouse button to select the 25 unnamed points attached to the human in the 3D view. Confirm that the number in the parentheses at the bottom left corner of the 3D view is 25.
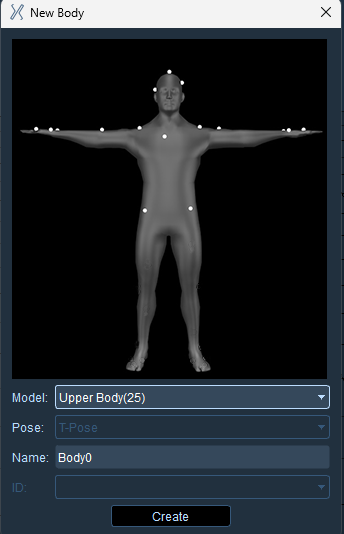
Right-click in the 3D interface and select ‘Create Human.’ In the ‘Create Human’ window, choose ‘Upper Body(25)’ from the dropdown list. Hover the mouse cursor over the marker image and scroll the mouse wheel to view the marker positions from different angles. The marker positions for the Upper Body(25) model are identical to those for the upper body of the 41-point human model. For detailed marker placement instructions, refer to ‘XIV. Human Template (9) 41-Point Human Marker Placement Instructions.
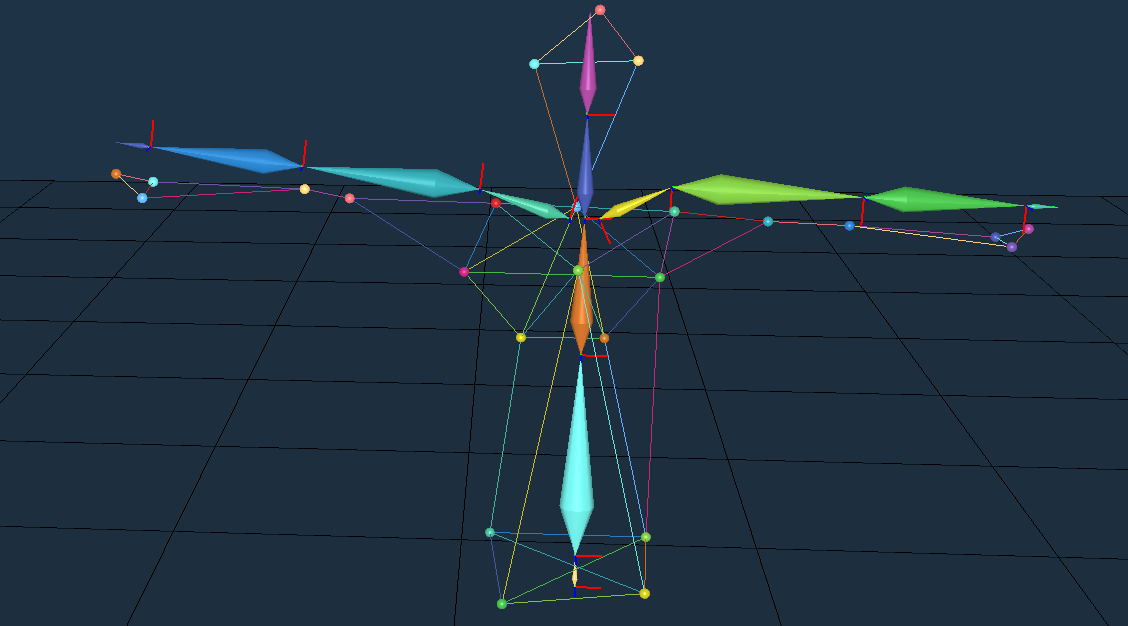
After confirming that the actual marker placements match the marker image, click the ‘Create’ button to create the human model. Unfreeze the 3D view. At this point, the model can move freely, and you will see the 25-point human model follow the movements of the model in real-time.
The Upper Body + hand(35) model is a human model for the upper body with a data glove. Before creating this model, please ensure that the data glove is configured in the ‘Glove Management’ window.
Ensure the software is in playback mode, with the model standing in T-Pose, the coordinate system having the Y-axis pointing up, the model facing the positive Z-axis, and the arms parallel to the X-axis. Click Freeze, hold the Shift key, and drag the left mouse button to select the 35 unnamed points attached to the human in the 3D view. Confirm that the number in the parentheses at the bottom left corner of the 3D view is 35.
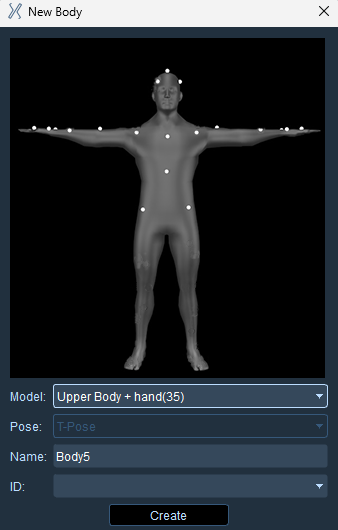
Right-click in the 3D interface and select ‘Create Human.’ In the ‘Create Human’ window, choose ‘Upper Body + hand(35)’ from the dropdown list. Hover the mouse cursor over the marker image and scroll the mouse wheel to view the marker positions from different angles. The marker positions for the Upper Body + hand(35) model are identical to those for the upper body of the 53-point human model. For detailed marker placement instructions, refer to ‘XIV. Human Template (1) 53-Point Human Marker Placement and Skeleton Instructions.
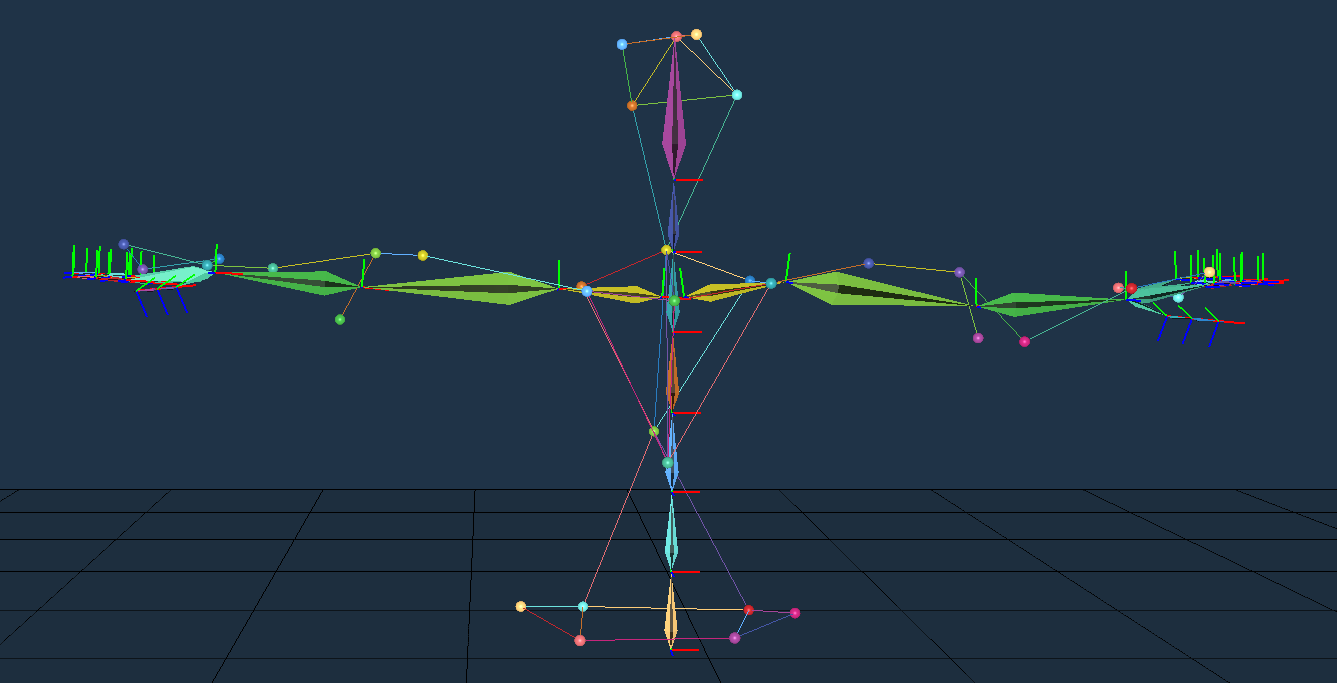
After confirming that the actual marker placements match the marker image, expand the ‘Number’ list in the window and select the added data glove number. Click the ‘Create’ button to create the human model. Unfreeze the 3D view. At this point, the model can move freely, and you will see the 35-point human model follow the movements of the model in real-time.