6.Probe
Built-in probe model
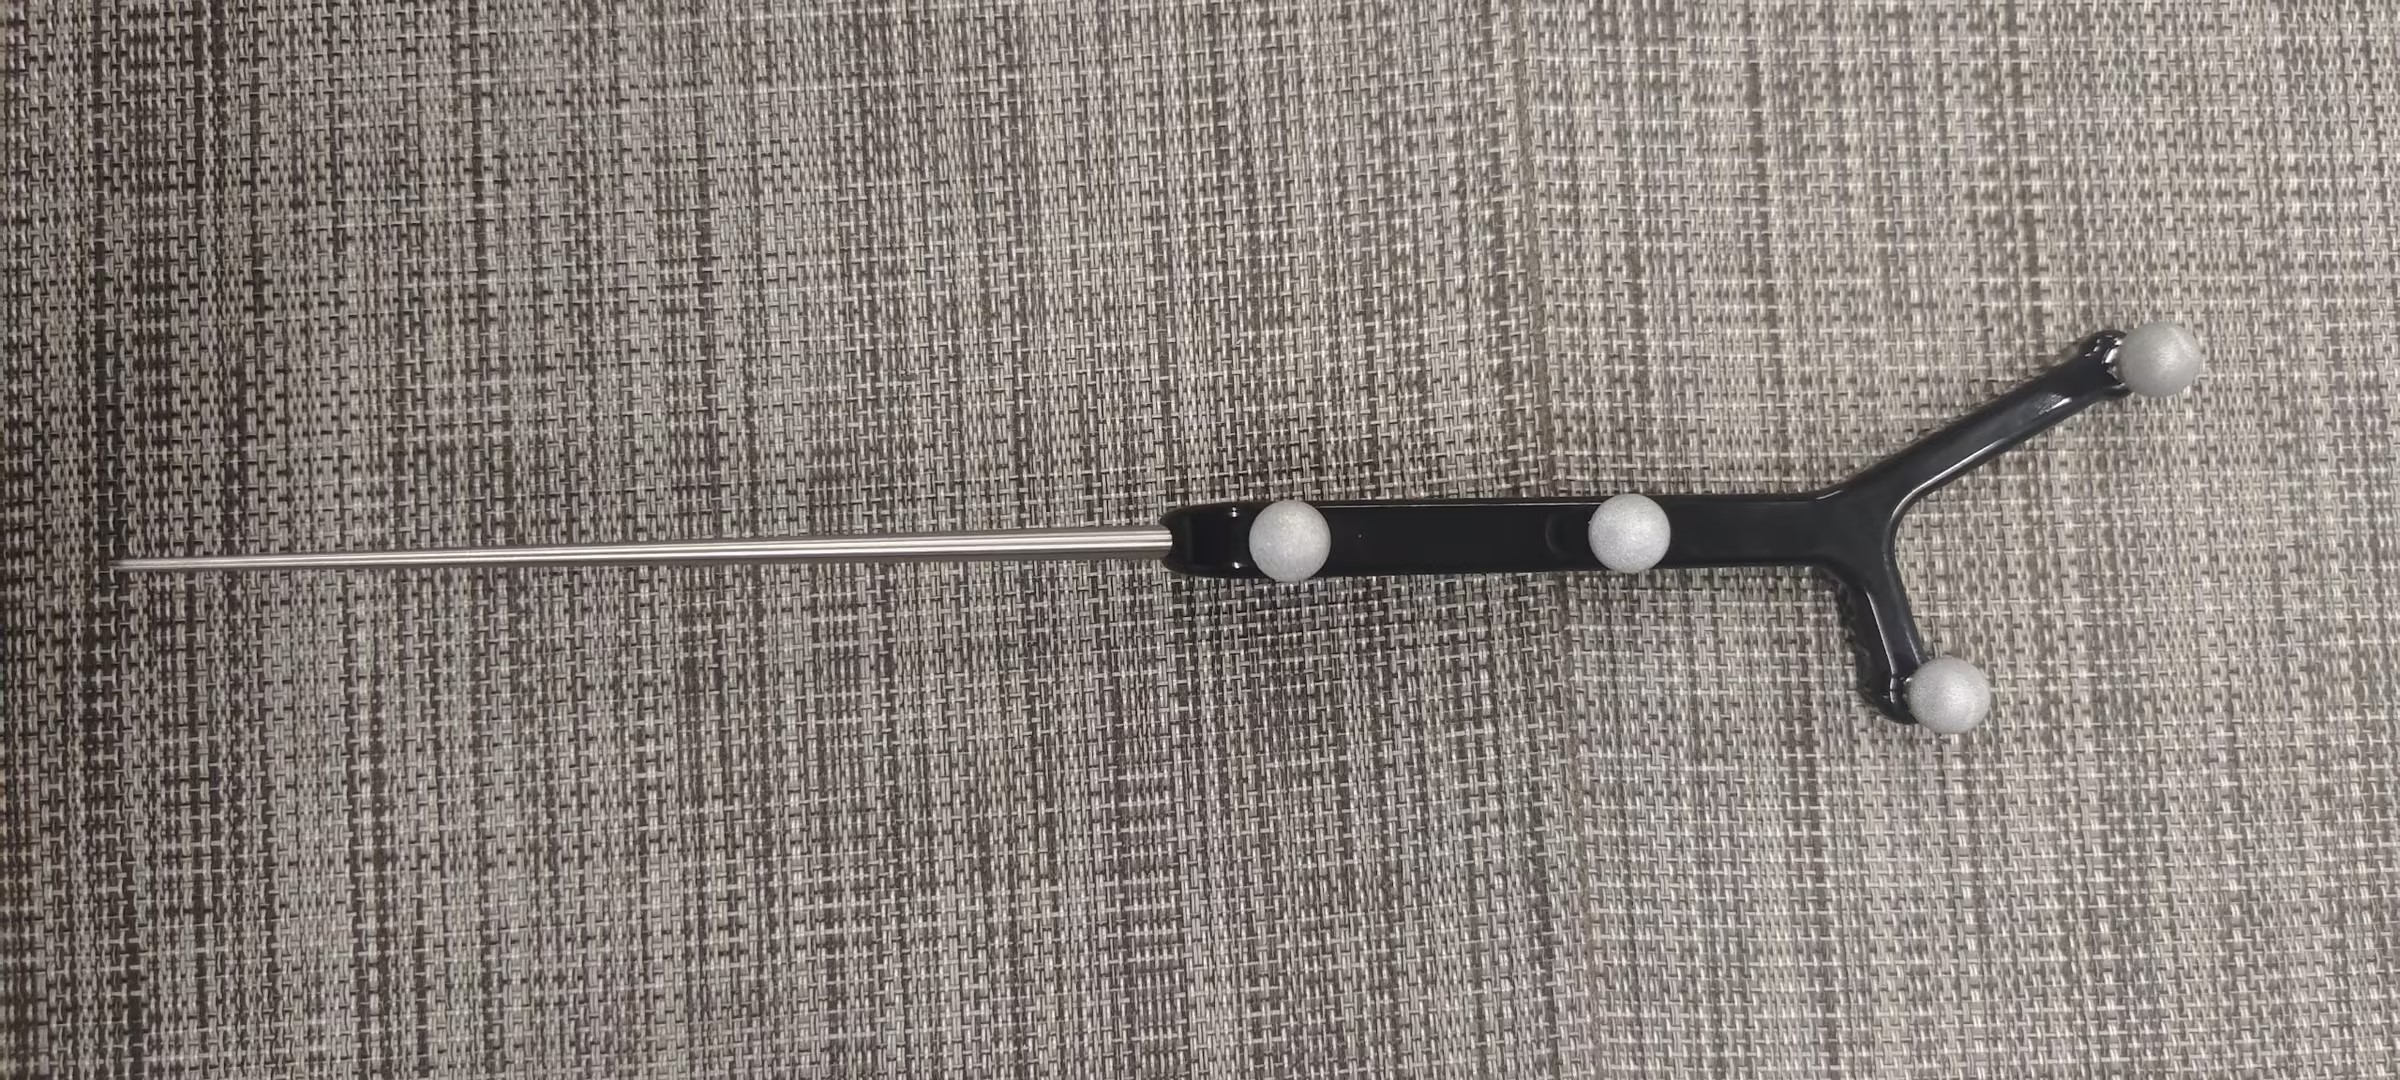
The system has built-in NOKOV Probe Template (9.6.1),Model: LY-0020;
.jpg)
9.6.1
The system has built-in NOKOV Probe Template (9.6.2),Model: LY-0021;
9.6.2
- Take the NOKOV probe-LY-0020 in the middle of the field, click Freeze, select the probe Markers, right-click the mouse and select "Create Probe", select "Built-in", select "LY-0020" as the template, and click 'Create' (9.6.3) ;
.png)
9.6.3
- After successfully creating the probe, the asset Interface will display the information of the created probe, and the 3D view will show the rigid body of the created probe;
warning
Note: Other probes can not cessfully created using the built-in probe template;
Custom probe model
- Stand the custom probe upright in the middle of the field, click Freeze, select the probe points by dragging a box around them, right-click the mouse and choose "Create Probe," then select the 'Custom' from the displayed window;
- Enter the probe name and calibration frames, then click Create. (In custom mode, clicking Create will automatically unfreeze the state);
- At this point, rotate the probe around a fixed point to form a cone shape and capture the specified number of frames. After collecting the required frames, the 3D view will display the created probe rigid body;
warning
Note: While rotating the probe, ensure that the tip of the probe remains fixed at a point and does not move.
Note: Clicking Cancel during the collection process will stop data collection and calibration.
Probe Properties
- After selecting the probe asset, click on the probe properties icon (9.6.4) to display the properties window (9.6.5) ;
.png)
9.6.4
.png)
9.6.5
- On this page, clicking on "Calibrate" allows for recalibration of the selected and created probe. In real-time probe measurements, the real-time probe tip data is displayed;
- After clicking on "Calibrate," the interface will show the probe data collection status. At this point, rotate the probe around a fixed point to form a cone shape and start collecting data for calibration. Clicking Cancel will stop the calibration process. Upon completing the calibration, the updated rigid body will be displayed in the view;